Lighter Instructions
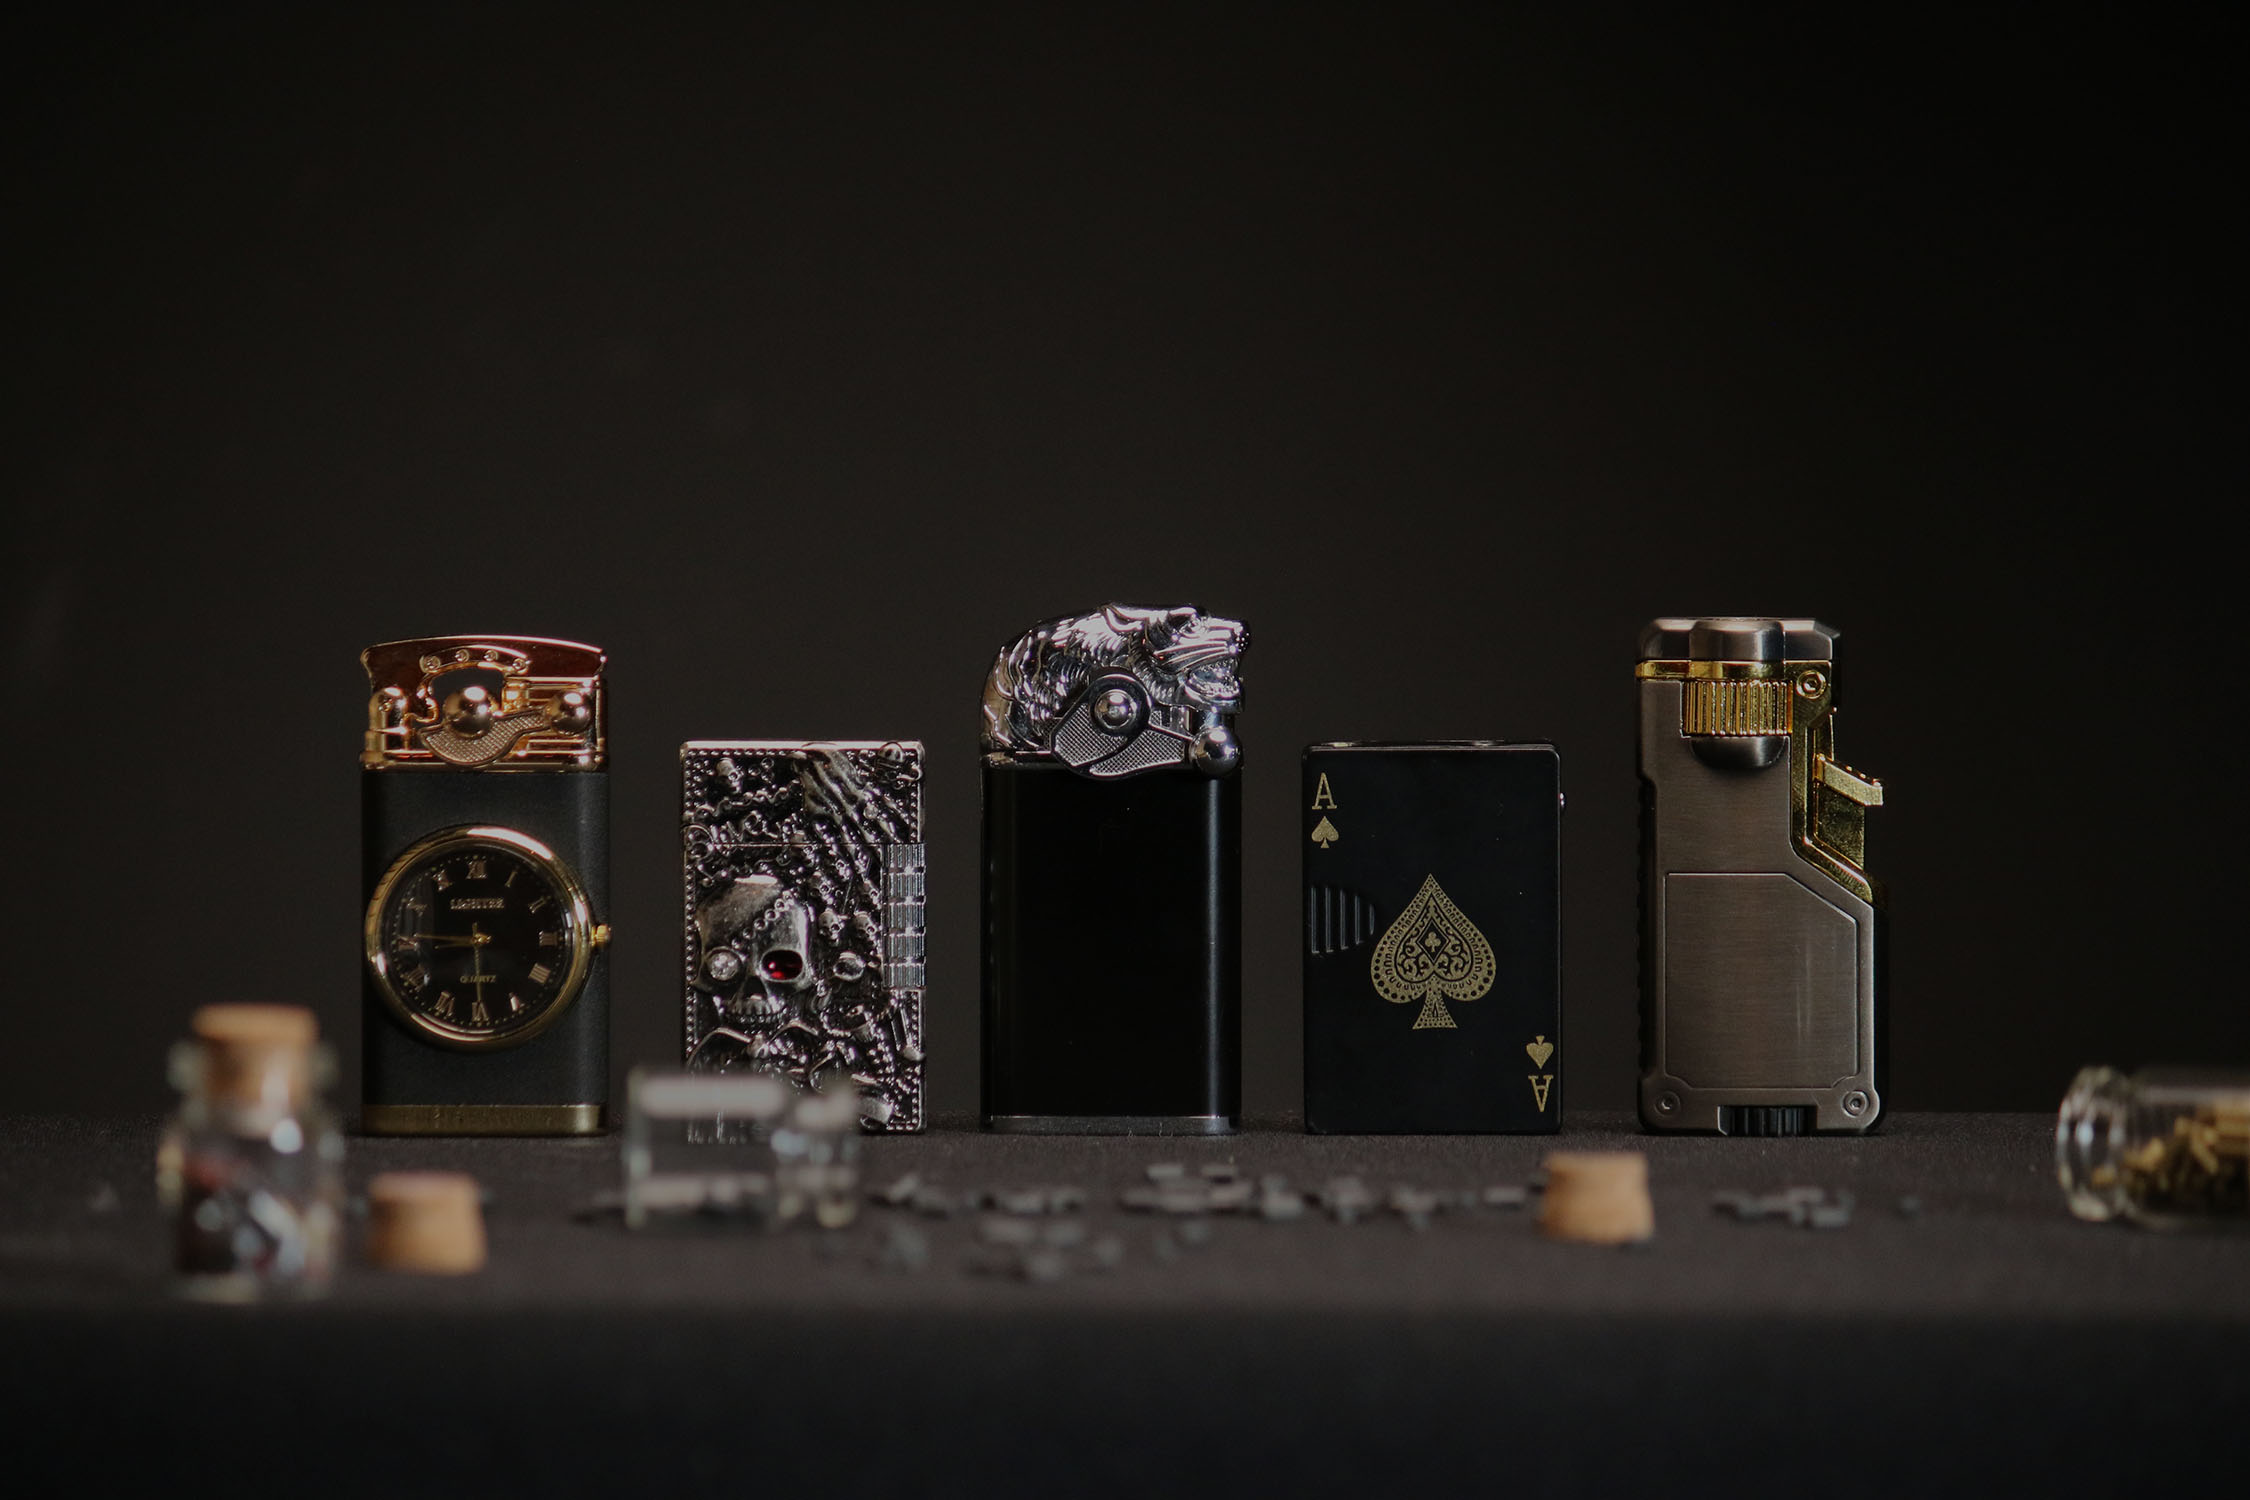
At FlameSpade, we take pride in offering a wide selection of high-quality lighters, each designed with their own unique features.
Whether you own a butane torch, a classic wick lighter, or an electric arc lighter, proper care and maintenance will ensure long-lasting performance.
This guide provides step-by-step instructions and video tutorials on refilling, troubleshooting, and maintaining your lighter to keep it working at its best.
Butane Lighters
How to Fill Your Butane Lighter
For more detailed instructions, a video tutorial can be viewed here.
- Purge the lighter – Before refilling, release any built-up gas by pressing down on the butane valve with a small screwdriver until all excess gas is released.
- Use the correct fuel – Only use butane gas. We recommend any butane brand that offers at least 3X refined butane.
- Use the correct nozzle – A butane canister with a plastic nozzle will work universally with our lighters. If yours has a metal nozzle, please use a detachable nozzle provided in the cap of your butane canister.
- Fill the lighter – Hold the butane canister upside down and insert the nozzle securely into the butane valve. Firmly press down for 2-3 seconds. Repeat 1-2 additional times to completely fill your lighter.
- Let the butane warm up – Allow the lighter to sit for 2-3 minutes to allow the cold butane to reach room temperature before ignition.
- Test the ignition – Always test the ignition away from your face before using the lighter, and adjust the flame size if necessary.
How to Adjust the Flame Size
For more detailed instructions, a video tutorial can be viewed here.
- Locate the adjustment dial – On most butane lighters, the flame is adjusted by turning the butane valve itself. If your lighter doesn't have a notched circle around the butane valve, then it likely has a separate flame adjustment dial beside the butane valve.
- Don't turn the screw – Please ensure you do not turn the actual screw that holds the lighter together. The adjustment dial will never look like a screw.
- Adjust the flame – Using the included flame adjuster, turn the dial counter-clockwise towards the plus (+) to increase the flame size, or clockwise towards the minus (-) to decrease the flame size. The adjustment dial is sensitive, so please only turn 10-15 degrees at a time.
- Test the ignition – Always test the ignition away from your face before using the lighter, and readjust the flame size if necessary.
How to Replace the Flint (for Butane Lighters)
Most butane lighters don't use a flint, but if yours does, it will need to be replaced when it runs out.
We always recommend our Premium Lighter Flints as they're specifically designed to work universally with all of our lighters. They can be purchased here.
For Sanji's Lighter and Emerald Bloom Lighter, a video tutorial can be viewed here. For all other butane lighters, please follow the steps below:
- Locate the flint cap – This is usually located directly below, or directly beside the flint wheel. If your lighter doesn't have a flint cap, the entire flint mechanism likely needs to be pulled out to access the flint cap.
- Carefully unscrew it – Carefully unscrew the flint cap, making sure the loaded spring inside doesn't launch it away.
- Remove flint debris – Pull out the spring and shake out any flint debris from inside.
- Install new flint – Drop a new flint into the chamber, followed by the spring, then the flint cap.
- Test it out – Reassemble all components and test the ignition away from your face by striking the flint wheel.
Troubleshooting Butane Lighters
- Sparks but won’t ignite – Ensure the fuel tank has been purged, the lighter is adequately filled with butane, and the flame size has been adjusted.
- Butane sprays out when filling – Make sure you're applying enough pressure and using the correct nozzle.
- Flame goes out right away – Adjust the flame size using the flame adjustment dial.
- Doesn't create a spark – Replace the flint. If your lighter just arrived and won't spark, it may be faulty. In this case, please contact us.
- Suddenly stopped working – There's likely a build-up of air, so the fuel tank needs to be completely purged, then refilled.
-
Spitting liquid butane – Make sure to allow 2-3 minutes for the butane to warm up. If enough time was given and it's still spitting, turn down the flame size.
For further troubleshooting, please contact us and we'll be happy to help.
Maintenance for Butane Lighters
- Purging the fuel tank – Over time air will build up inside the fuel chamber. If your lighter suddenly isn’t performing well, purge any trapped air before refilling.
- Using refined butane – We always recommend using at least 3X refined butane to prevent any debris in the butane from clogging your lighter.
-
Keeping it clean (for flint lighters) – Use a small brush or a dry cotton swab to remove any built-up flint debris from the ignition port.
- Tip: Add a small amount of isopropyl alcohol (up to 70%) to the cotton swab for an even deeper clean. Wipe off any excess with a dry cotton swab before use.
Wick Lighters
How to Fill Your Wick Lighter
For wick lighters with different refill mechanisms, bespoke video tutorials can be followed below:
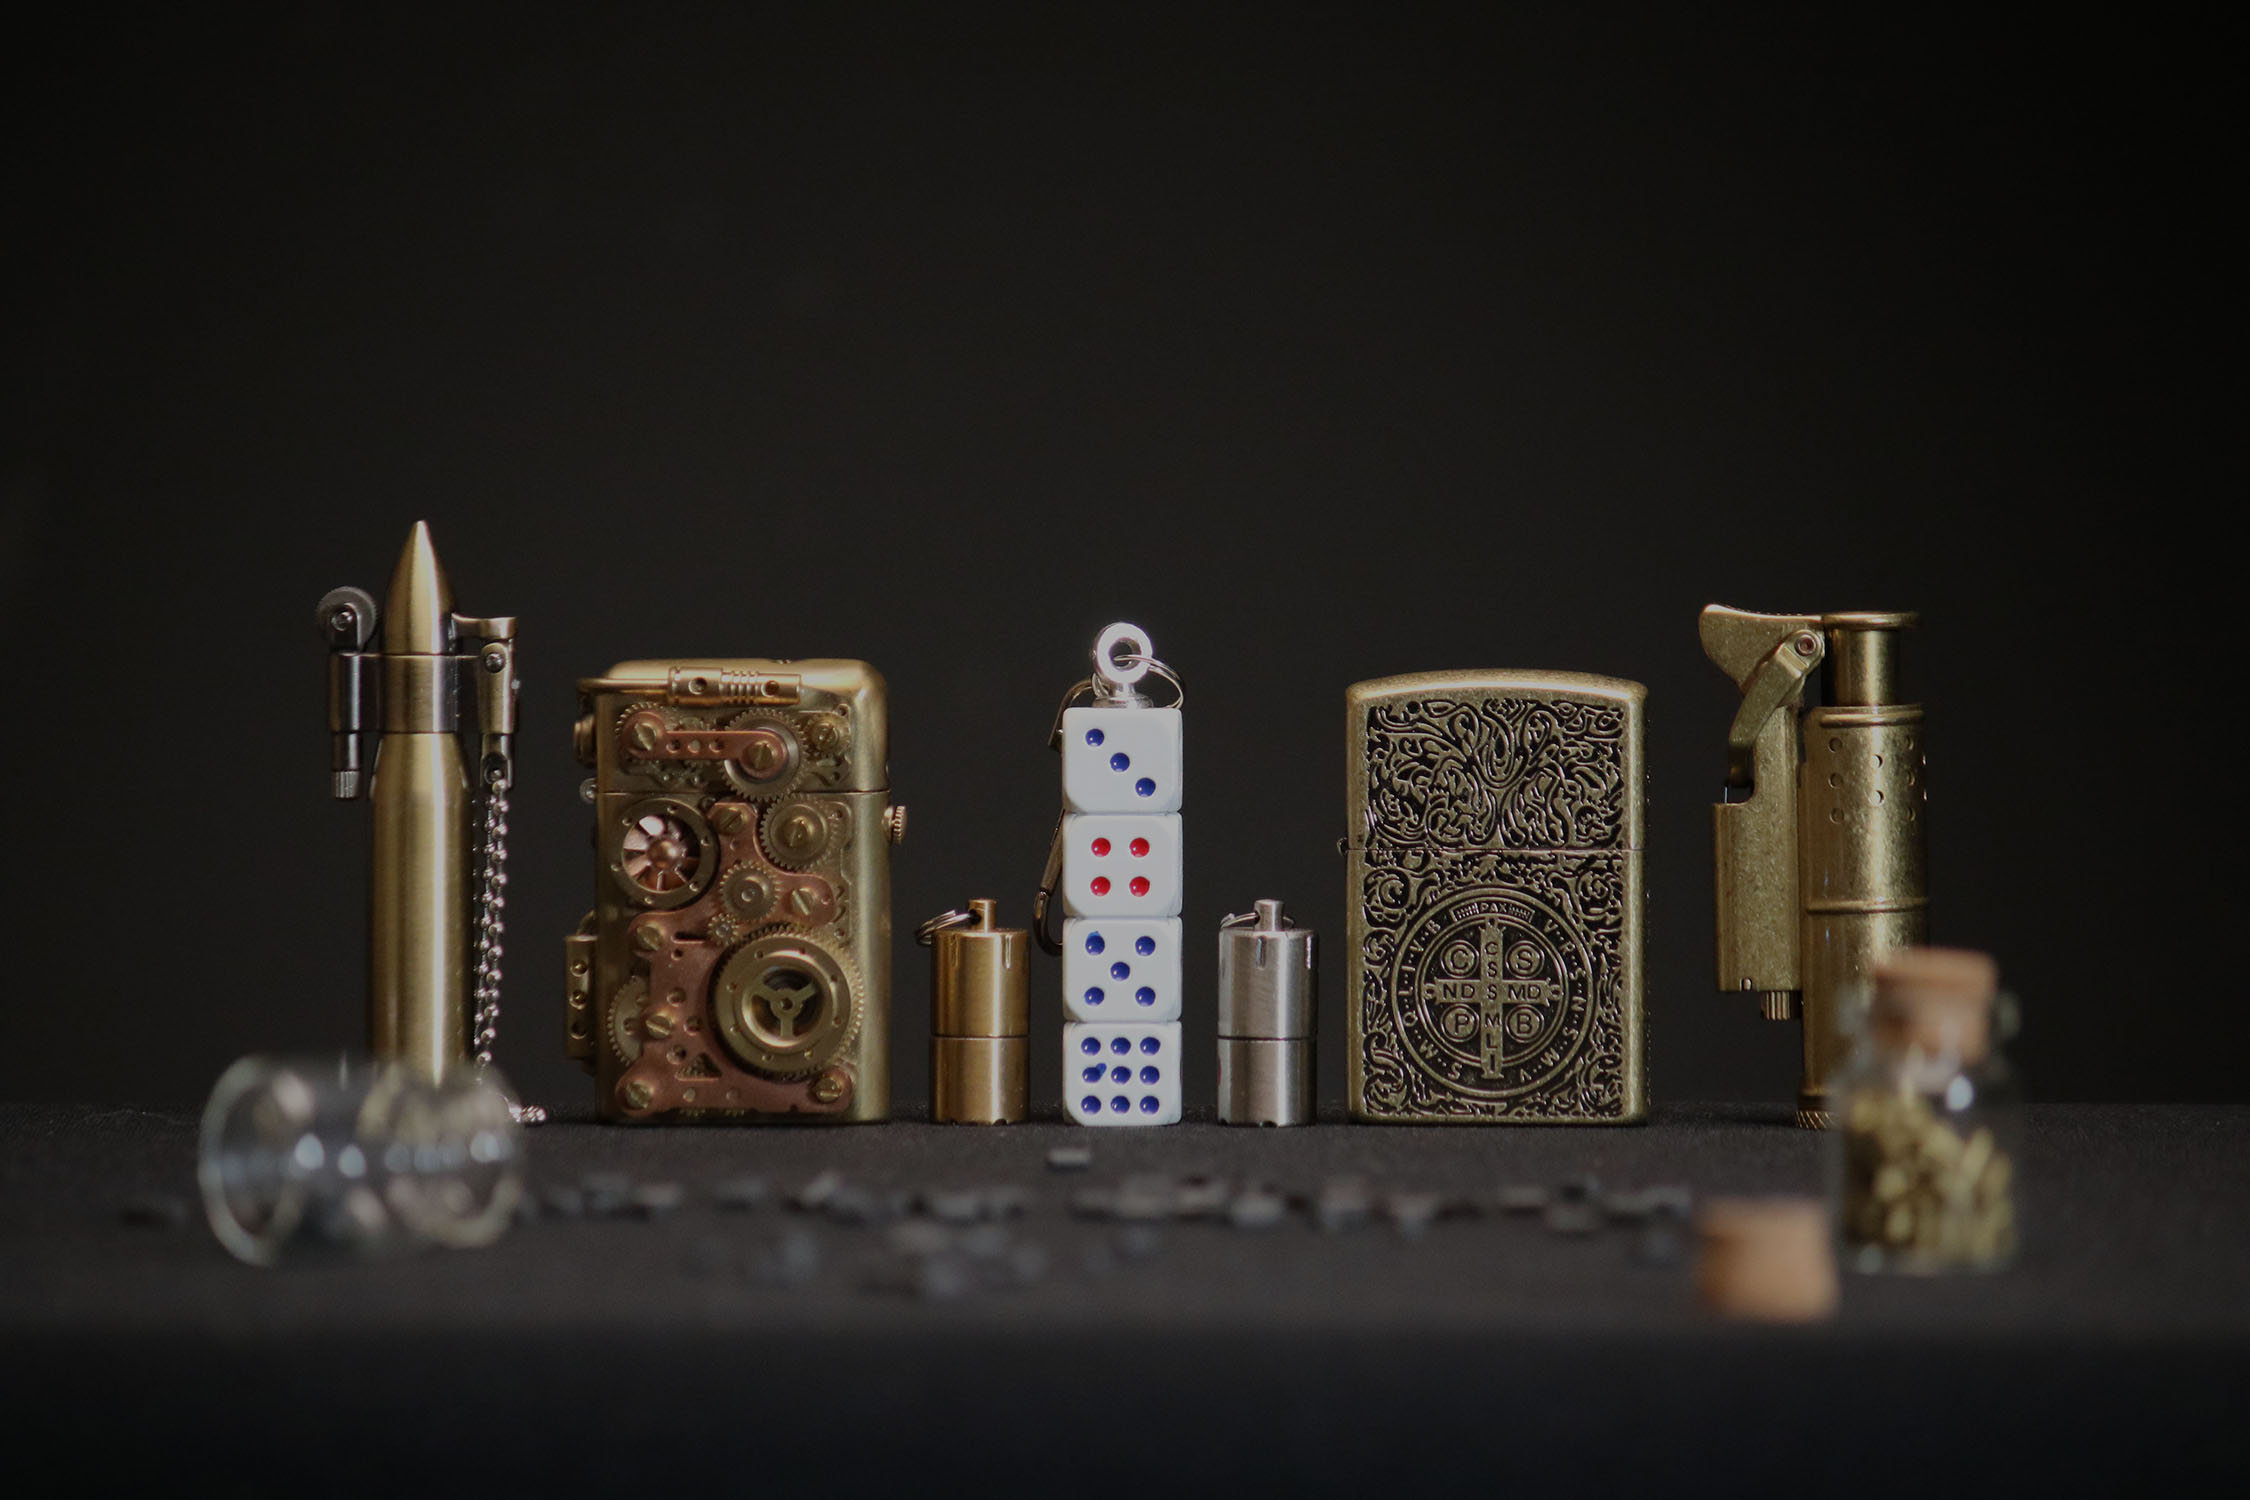
Constantine's Lighter and other classic-styled lighters: here.
Blaze Wallet: here.
Pistol Lighter: here.
For all other wick lighters, a separate video tutorial can be viewed here, or the instructions below can be followed:
- Remove the fuel cap – Unscrew the largest cap on the bottom of the lighter. If your lighter doesn't have a fuel cap, pull out the insert inside the lighter.
- Use the correct fuel – Please only use naphtha-based lighter fluid. We recommend Zippo brand, but any brand will do just fine.
- Add lighter fluid – Carefully saturate the cotton inside with lighter fluid (avoid overfilling). Wipe up any spillage.
- Reassemble and wait – Screw the fuel cap back in, or place the insert back into the lighter, and allow 1-2 minutes for the fuel to absorb into the wick before igniting.
- Test the ignition – Always test the ignition away from your face before using the lighter.
How to Increase the Flame Size
For more detailed instructions, a video tutorial can be viewed here.
- Use sufficient fuel – If the lighter isn’t sufficiently filled, the flame will be small. Add more fuel so the wick is fully saturated.
- Remove any charred wick – If the wick has any charred or blackened sections, pull it up slightly and trim off the charred portion so only clean wick remains.
- Increase the wick length – Pull out a little more wick to increase flame size. The more wick that's exposed, the larger the flame will be.
- Test the flame size – After each step, ignite the lighter and check the flame height. Remember, a larger flame will use more fuel, so find your ideal balance.
How to Replace the Flint (for Wick Lighters)
We always recommend our Premium Lighter Flints as they're specifically designed to work universally with all of our lighters. They can be purchased here.
- Locate the flint cap – This is usually located directly below, or directly beside the flint wheel. If your lighter has an insert, this will need to be removed to access the flint cap.
- Carefully unscrew it – Carefully unscrew the flint cap, making sure the loaded spring inside doesn't launch it away.
- Remove flint debris – Pull out the spring and shake out any flint debris from inside.
- Install new flint – Drop a new flint into the chamber, followed by the spring, then the flint cap.
- Test it out – Reassemble all components and test the ignition away from your face by striking the flint wheel.
How to Replace the Wick
We recommend our Wired Lighter Wicks as they're specifically designed for our lighters, and provide the easiest replacing. They can be purchased here.
For more detailed instructions, a video tutorial can be viewed here.
- Access the cotton – Remove the fuel cap (or the insert if your lighter has one) to access the cotton.
-
Remove old wick and cotton – Use tweezers to pull out what's remaining of the old wick, and all of the cotton from inside the lighter. Set the cotton aside.
- Install the new wick – Thread the Wired Lighter Wick from the top to the bottom, leaving ¼ inch (~6mm) sticking out from the top of the lighter.
- Reinsert cotton – Hold the wick in place and start reinserting the cotton, interweaving the wick between cotton pieces.
- Trim and refill – Trim off the excess wick, insert the final piece of cotton, and refill your lighter.
- Test the ignition – Always test the ignition away from your face before using the lighter.
Troubleshooting Wick Lighters
- Won’t ignite – Ensure the lighter has enough fluid. If the flint is worn out, replace it.
- Weak flame/wick is burning – The lighter needs more fuel. Add a bit more and try igniting again.
- Leaking from the bottom – Ensure the fuel cap hasn't been cross-threaded.
- Leaking from the top – The lighter has likely been overfilled. Use a paper towel and hold it against the wick to soak up any excess.
- Flame is too small – Use a pair of tweezers and pull out more wick to increase the flame size (be sure the lighter has sufficient fuel).
For further troubleshooting, please contact us and we'll be happy to help.
Maintenance for Wick Lighters
- Trimming the wick – When your wick starts to turn black and is not igniting properly, pull out some more wick with a pair of tweezers and trim off the burnt portion.
-
Keeping it clean – Use a small brush or a dry cotton swab to wipe down any built-up flint debris from the ignition port.
- Tip: Add a small amount of isopropyl alcohol (up to 70%) to the cotton swab for an even deeper clean. Wipe off any excess with a dry cotton swab before use.
Electric Lighters
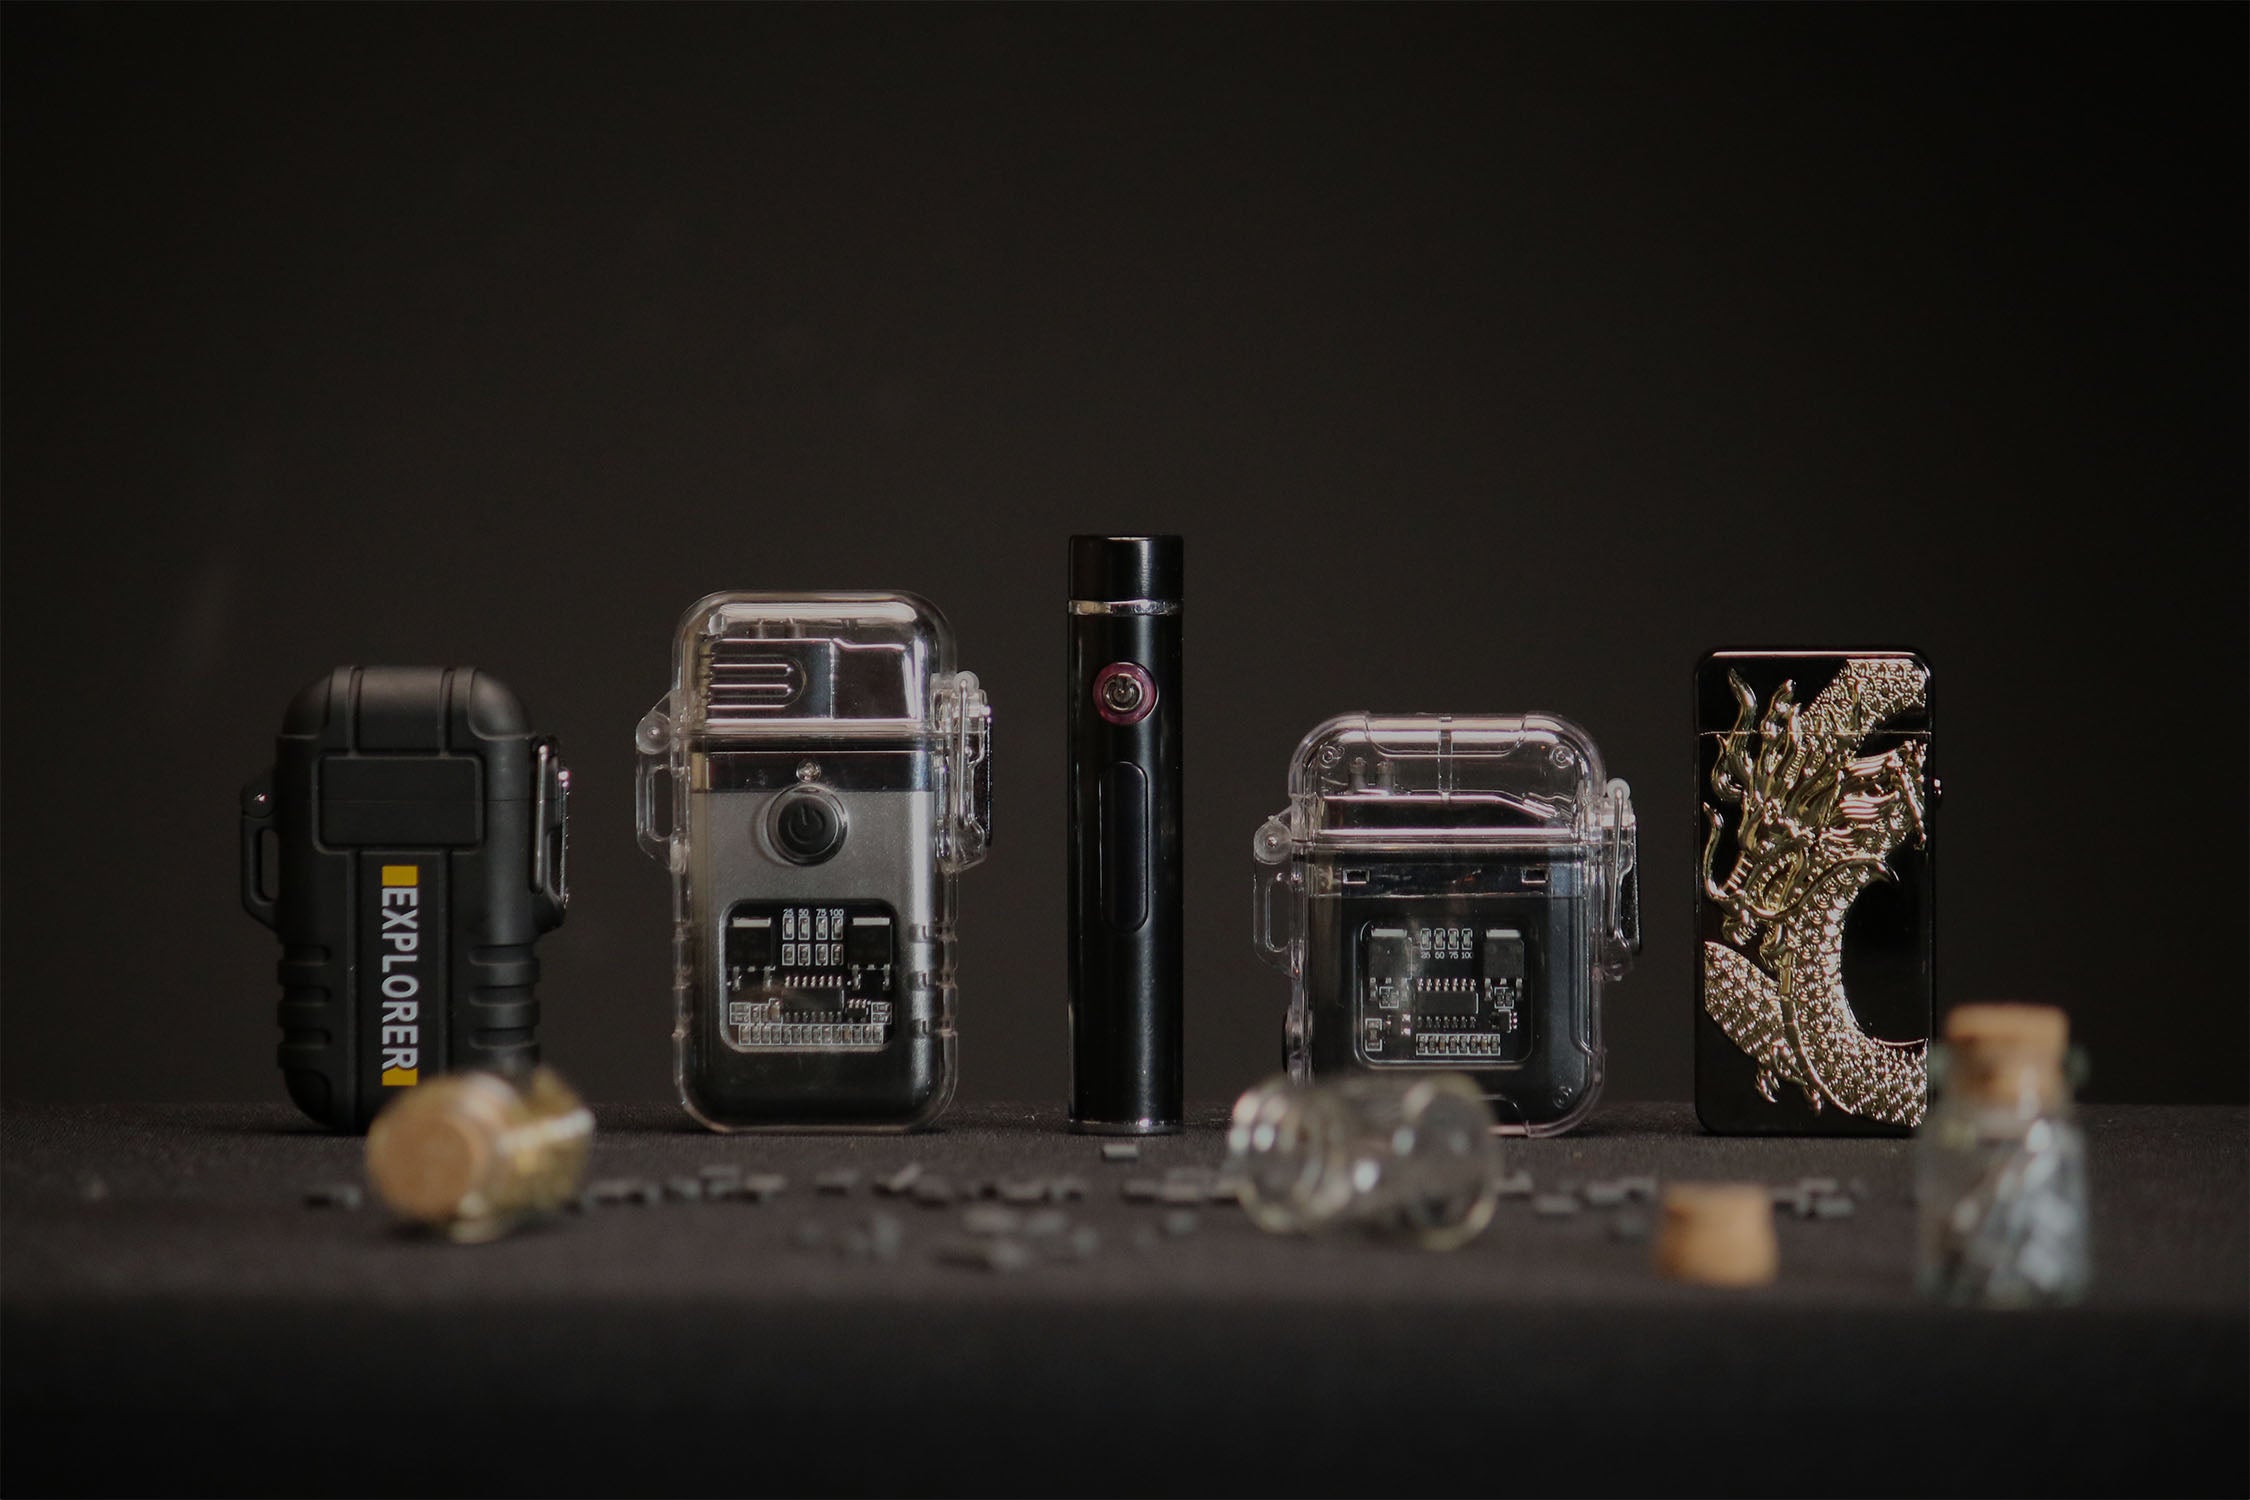
How to Use an Electric Lighter
- Charge the lighter – Plug in the provided USB cable to charge the battery.
-
Test the ignition – Electric lighters have a power button or a sliding cover to activate the arc/coil. Test the ignition away from your face before using the lighter.
- Ignite – While the lighter is on, just touch whatever you're burning to the arc/coil to ignite!
Troubleshooting Electric Lighters
- Not turning on – Ensure the lighter is charged and the power button is activated.
- Not charging – Try using a different USB cable and ensure the charging port is clean.
For further troubleshooting, please contact us and we'll be happy to help.
Maintenance for Electric Lighters
- Proper storage – Keep in a dry, room temperature environment (15-25°C or 59-77°F). Avoid long periods of heat or direct sunlight.
- Battery care – Charge regularly but avoid overcharging to maintain battery life.
-
Keeping it clean – Avoid pressing the ignition switch while cleaning. For coil lighters, pull back the cover and wait until the coil turns off before clearing. Use a small brush or a dry cotton swab to remove any carbon buildup.
- Tip: Add a small amount of isopropyl alcohol (up to 70%) to the cotton swab for an even deeper clean. Wipe off any excess with a dry cotton swab before use.
For additional support, feel free to contact us here, or at support@flamespade.com and we'll be happy to help!


